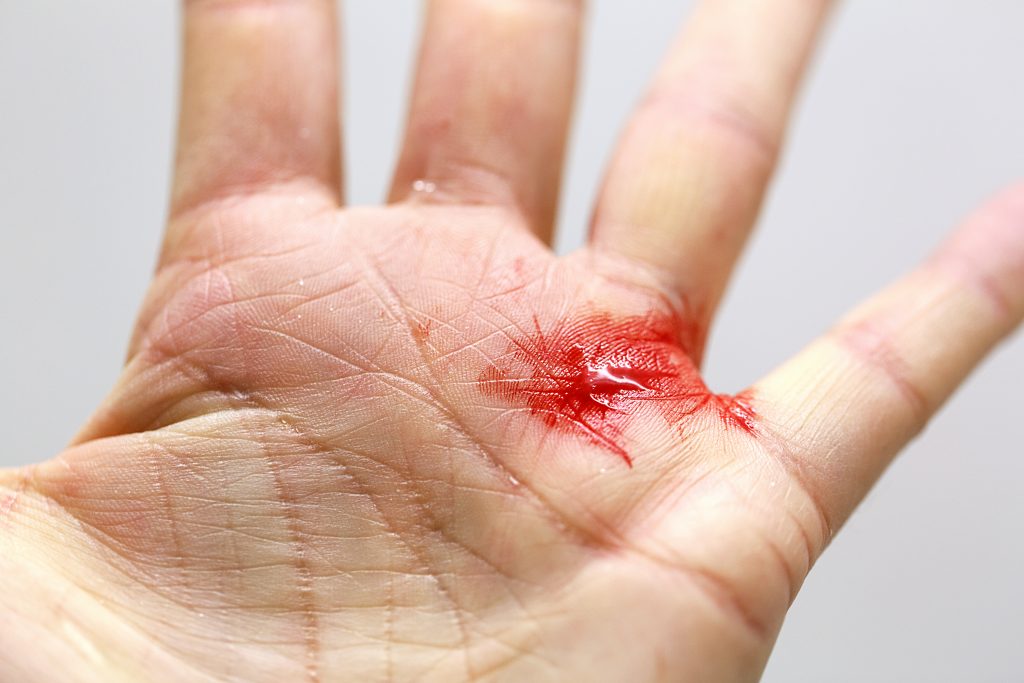
Completing workouts each week is hard enough without having a huge rip or blister that screams every time you touch a bar. It affects your performance, your results and does not allow for an accurate representation of your fitness to be shown. We will start with some simple hand care protocols and finish up with a detailed, tried and tested method for taping your hands to avoid rips, tears and blisters!
Important hand care basics:
- Dry skin leads to cracking and tearing. The chalk we use in the gym can dry out the skin quite badly (as it is designed to retain moisture) so ensure you wash your hands with warm soapy water as soon as possible after finishing your workout.
- The best time to attend to any rough, ripped or torn hands is after a bath or shower. The skin is soft and requires less work to remove the dead skin that causes rips. A pumice stone is the first point of call to keep hands smooth and rip free. If hands are maintained regularly with the pumice stone no rips should occur.
- If your hands do rip, tear or flake it is important to wash your hands immediately after a workout with warm soapy water (yes, I know it hurts but it is better than an infection). At home, that night use a razor to cut away any excess skin, apply pawpaw or other commercially available hand repair products (RX Repair, WOD Repair) and leave the wound uncovered overnight. Apply a band-aid or dressing along with the moisture supplying product the following day.
- Remember, tears occur when rough or uneven skin pinches on the bar and rips away at the surface around it. No rough skin, no excess skin and no dry hands = no rips!
Below is a step by step method we recommend using this open to protect those hands! With some luck and proper hand care, hygiene lets make this open a rip-free one!
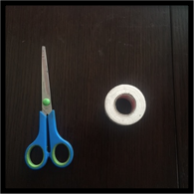
STEP 1: You will need a pair of scissors and a roll of athletic tape. The best option for tape is a rigid sports tape. Preferably not rock tape of kinetic tape as they are too thin (and cost way to much to use for this application).
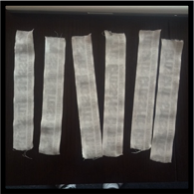
STEP 2: Cut six (6) even long strips of the tape that stretch from the tip of your middle finger to your wrist.
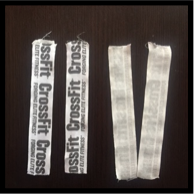
STEP 3: Stick four(4) of the strips together so that the adhesive sides are touching. Once completed NO part of the four strips should have an adhesive or sticky side showing. Try to line the strips up as evenly as possible and press them together firmly so no bubbles are present.
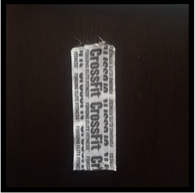
STEP 4: Stick the remaining two(2) strips either side of the existing two non-adhesive lengths made in step 3. These strips are used to stick the two pieces together on either side. After this step you should be left with one thick hand grip.

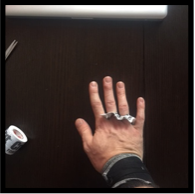
STEP 5: Using the scissors cut two holes at one end of the fabricated strip. These holes should be spaced so that no bunching will occur between the index and middle finger when placed on the hand. Ensure enough space is left at the end of the tape so the finger holes do not rip all the way through when working out. The holes should fit your index and middle fingers loosely.
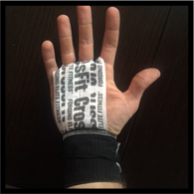
STEP 6: Slide your index and middle fingers through the slots and pull the handgrip down towards your wrist. At this stage, you can either use your wrist wrap (as pictured) to fasten the hand grip to your wrist or you can simply use another length of the athletic tape to anchor the grip around your wrist.
The grips can be reused. To do so, ensure they are pressed out flat to dry after a workout. The grips may be chalked as you would normally chalk your hands, remember, less is more!
Ensure the grips aren’t secured too tightly so full range of motion can be achieved at the wrist.